When you’re working with Royal TS/X, our aim is that you feel comfortable with it, so we put a lot of effort into generating a dynamic and customizable User Interface. Therefore, Royal TS/X provides lots of options and tools to personalize your UI (User Interface), e.g. color scheme presets like the Dark Mode or customizable icons. In this Blog post we want to introduce you to the most popular ways to easily personalize your User Interface:
1. Color Schemes/Themes
Let’s start with changing color schemes in general. On the Mac, we not only have macOS Mojave support – but we also fully support Mojave’s Dark Mode. By default, Royal TSX will “follow” your preference from the OS, but you can also switch to light or dark mode independently. You will find the theme selection in the “User Interface” section of the “Preferences” (⌘,), there are 3 built-in themes: Automatic, Light and Dark. The Dark scheme is the one you see in the screenshot.

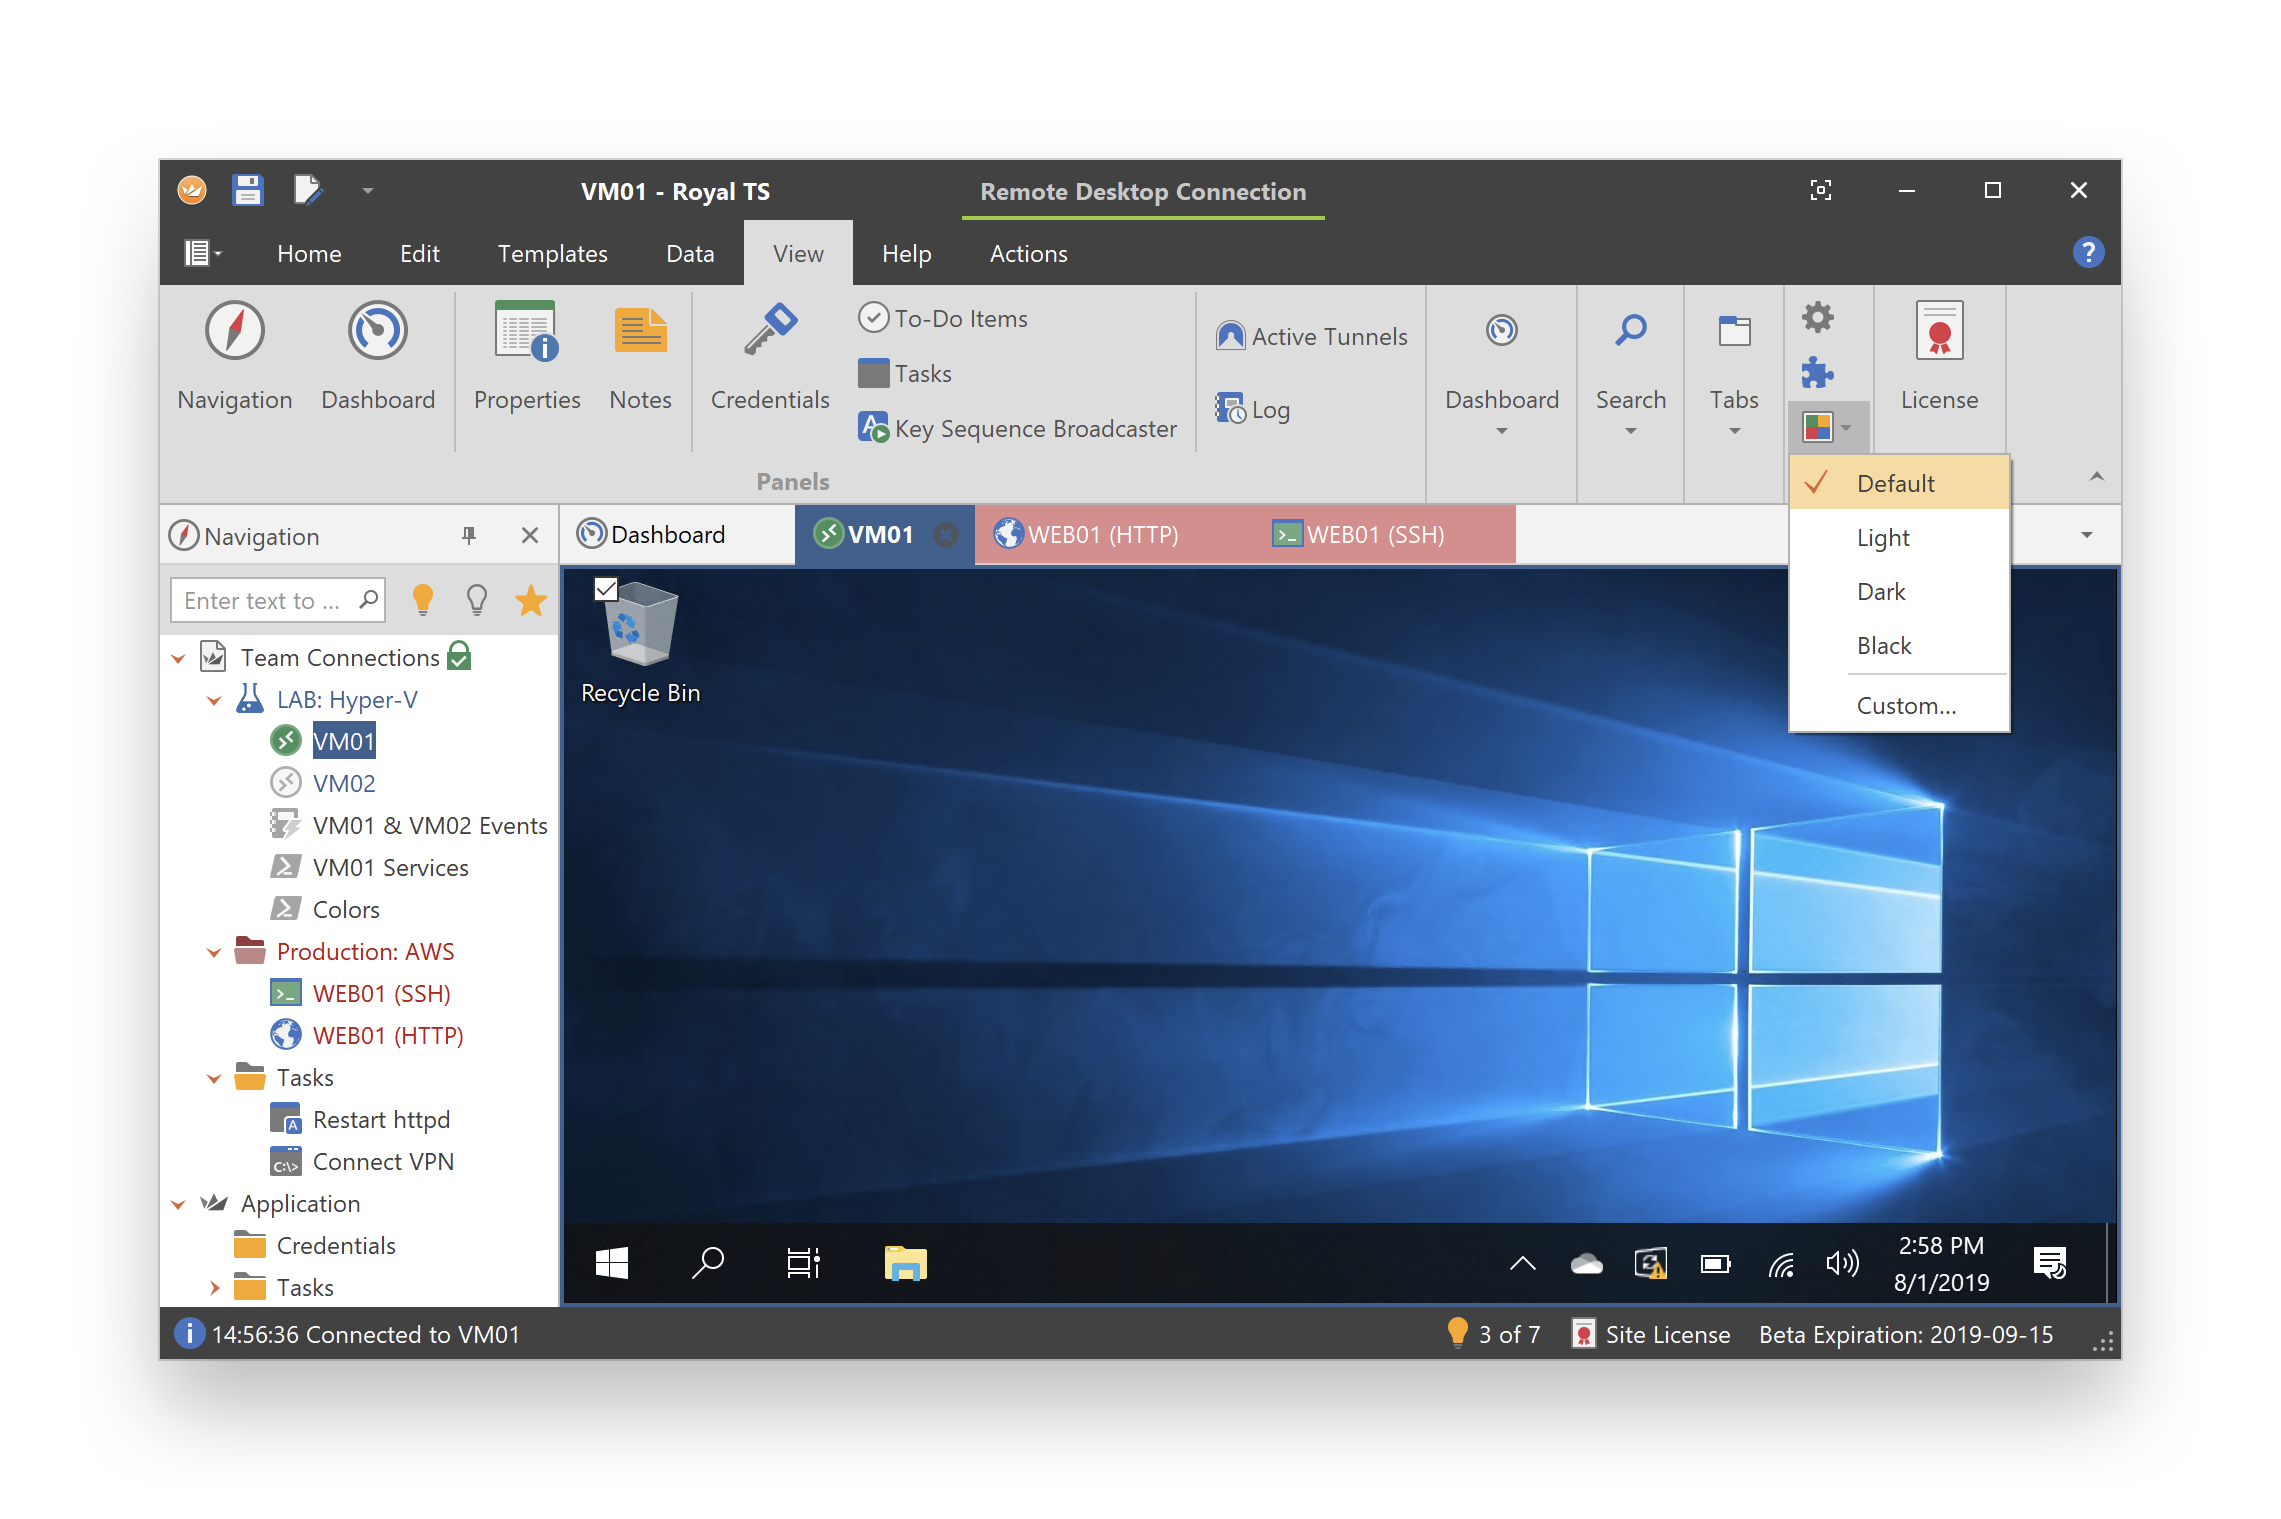
Windows users are provided with 4 built-in schemes: Default, Light, Dark and Black. You can find these settings on the View ribbon tab, there’s a drop-down button called “Color Scheme”. This is essentially what Microsoft Office, Visual Studio, and many other apps are offering nowadays. The Default scheme is the one you see in the screenshot.
Customize Color Schemes
With Royal TS (for Windows) you can go one step further by customizing the color scheme completely according to your preferences. Clicking “Custom…” in the “Color Scheme” dropdown shows a dialog, where you will find a couple of useful things:
- The drop-down at the top allows you to choose from many pre-defined color schemes right out of the box. Once you’ve selected the color scheme, hit the “Copy” button to copy all the color values from the selected scheme to the property grid. This way, you can quickly get started with a pre-defined scheme and tweak the colors as you wish.
- Clicking on a color will show a short description at the bottom, indicating where this particular color will be used.
- There are also “Icon Colors” available. Tweaking these colors allows you to set the colors used by all the icons in the UI. This way you can make sure that a black color in a black skin still has enough contrast to look great.
Share your Color Schemes
The “Share” button allows you to share your color scheme with other users. We create a special link that instructs your browser to open Royal TS’ Color Scheme editor and set the color scheme for you to try.
2. Customizable Object Icons
We know, that our users love to configure their objects with custom icons. You can personalize the icons in the “Properties” dialog, where you will find two built-in icon libraries: Flat objects (colored) and the open-source VMware Clarity icon library (monotone). All in all, there are more than 600 object icons in the presets for you to choose from.
Please note: In Royal TSX (for macOS) icons from the VMware Clarity library will automatically be displayed black or white, depending on the color scheme you have chosen. Naturally, we ship both, retina (high-DPI) and non-retina icons on the Mac.
![]()
In Royal TS (for Windows) all icons are vector-based SVG icons and will be scaled automatically based on the DPI setting. This ensures that when you upscale your display to 150 or more percent, there will be no display problems and all the icons will still look great.
![]()
Import Custom Icons
In the rare case that there are no suitable icons in our presets for you to choose from, we still have one more option for you – you can import and use your own icons!
Quick Tip for Mac users: After opening the object “Properties” dialog, you can easily drag-and-drop your personal icon (e.g. from the Finder or Desktop) onto the icon field to assign it.
3. Customizable Object/Tab Colors
Still can’t get enough of personalizing your UI? With these features you can completely individualize your interface:
- For each object, you can assign a specific color in the “Properties” dialog
- Objects can inherit colors from their parent folders
- Defined colors are displayed both in the “Navigation Panel” and the connection tabs
- New in Royal TSX (for macOS) 4.1.2: Assign a Tab color “on-demand” by right-clicking on connection tabs
4. Customizable Toolbar (for macOS)/Ribbon (for Windows)
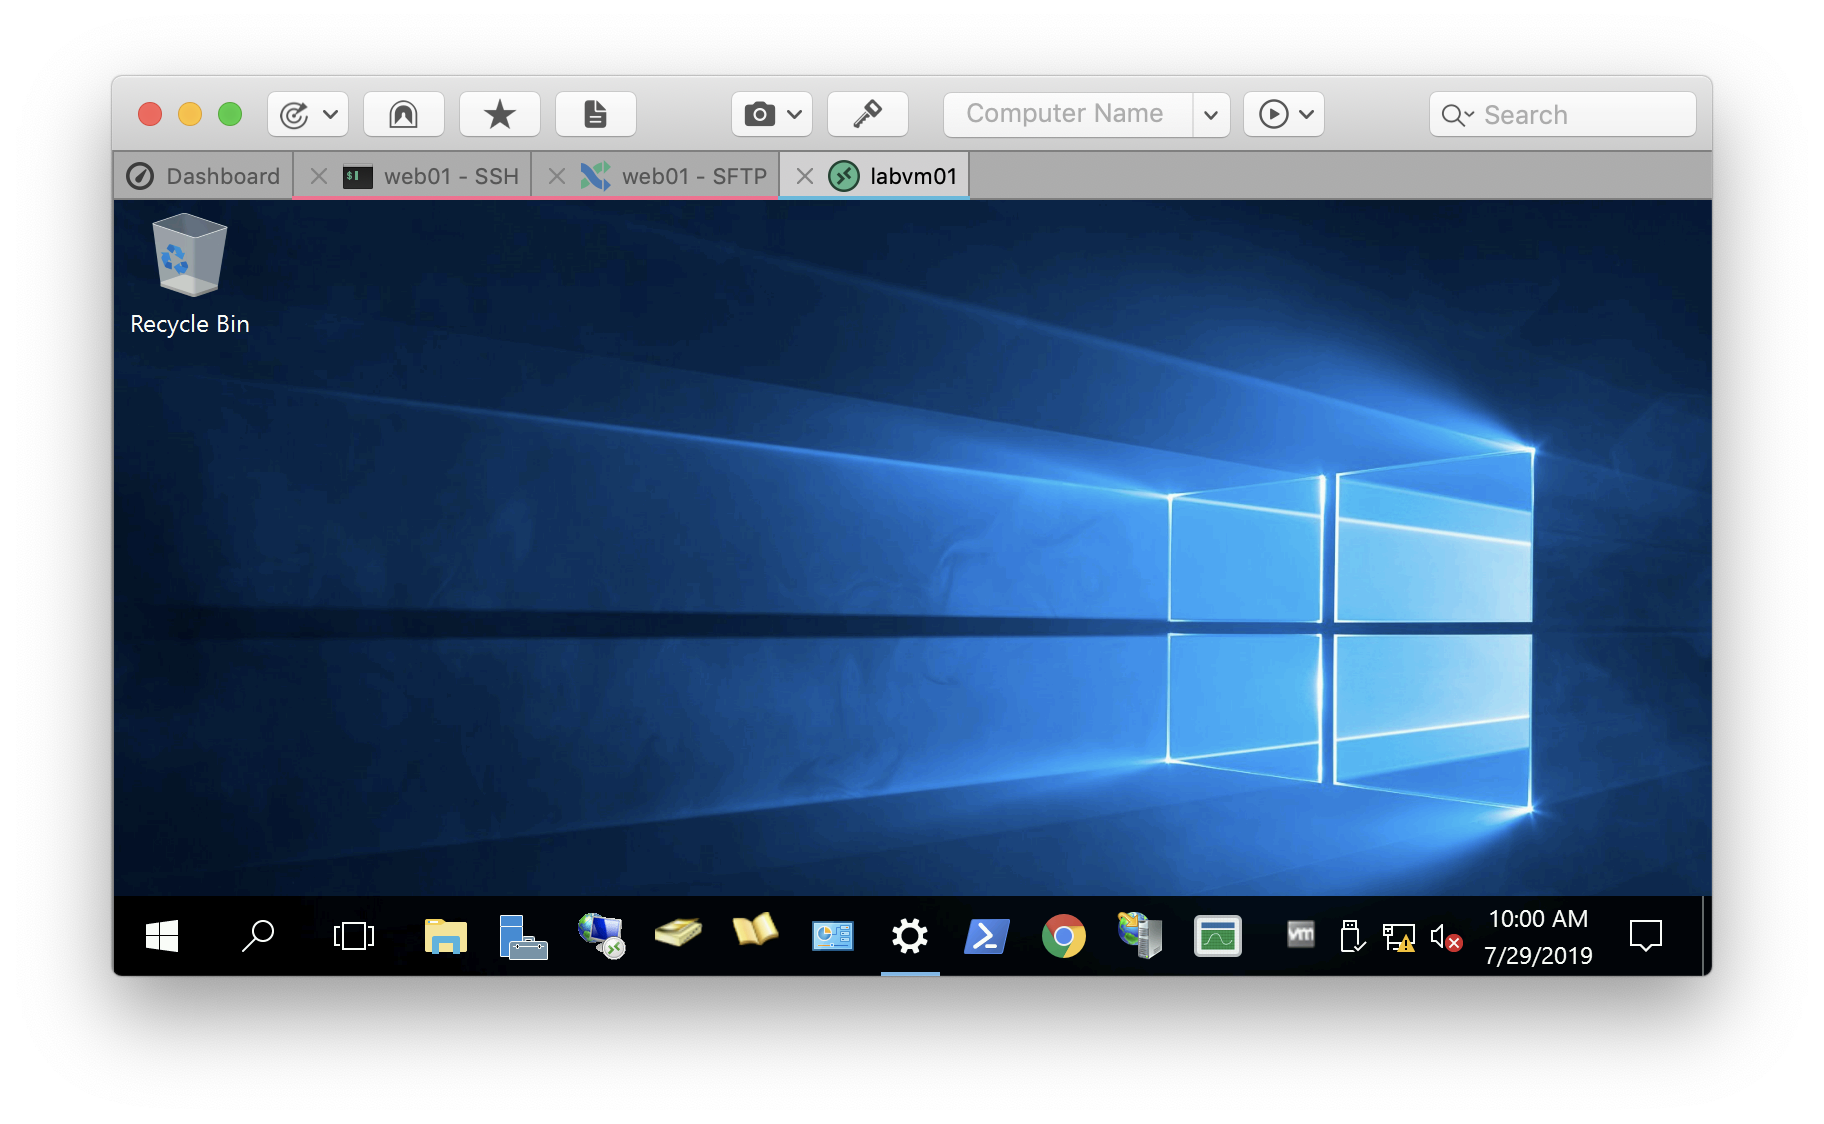
Royal TSX (for macOS) also has another very useful feature to help you customize your UI: by right-clicking the Toolbar, you can order and drag often used features directly onto your Toolbar. In the screenshot below you find an example for a personalized Toolbar.
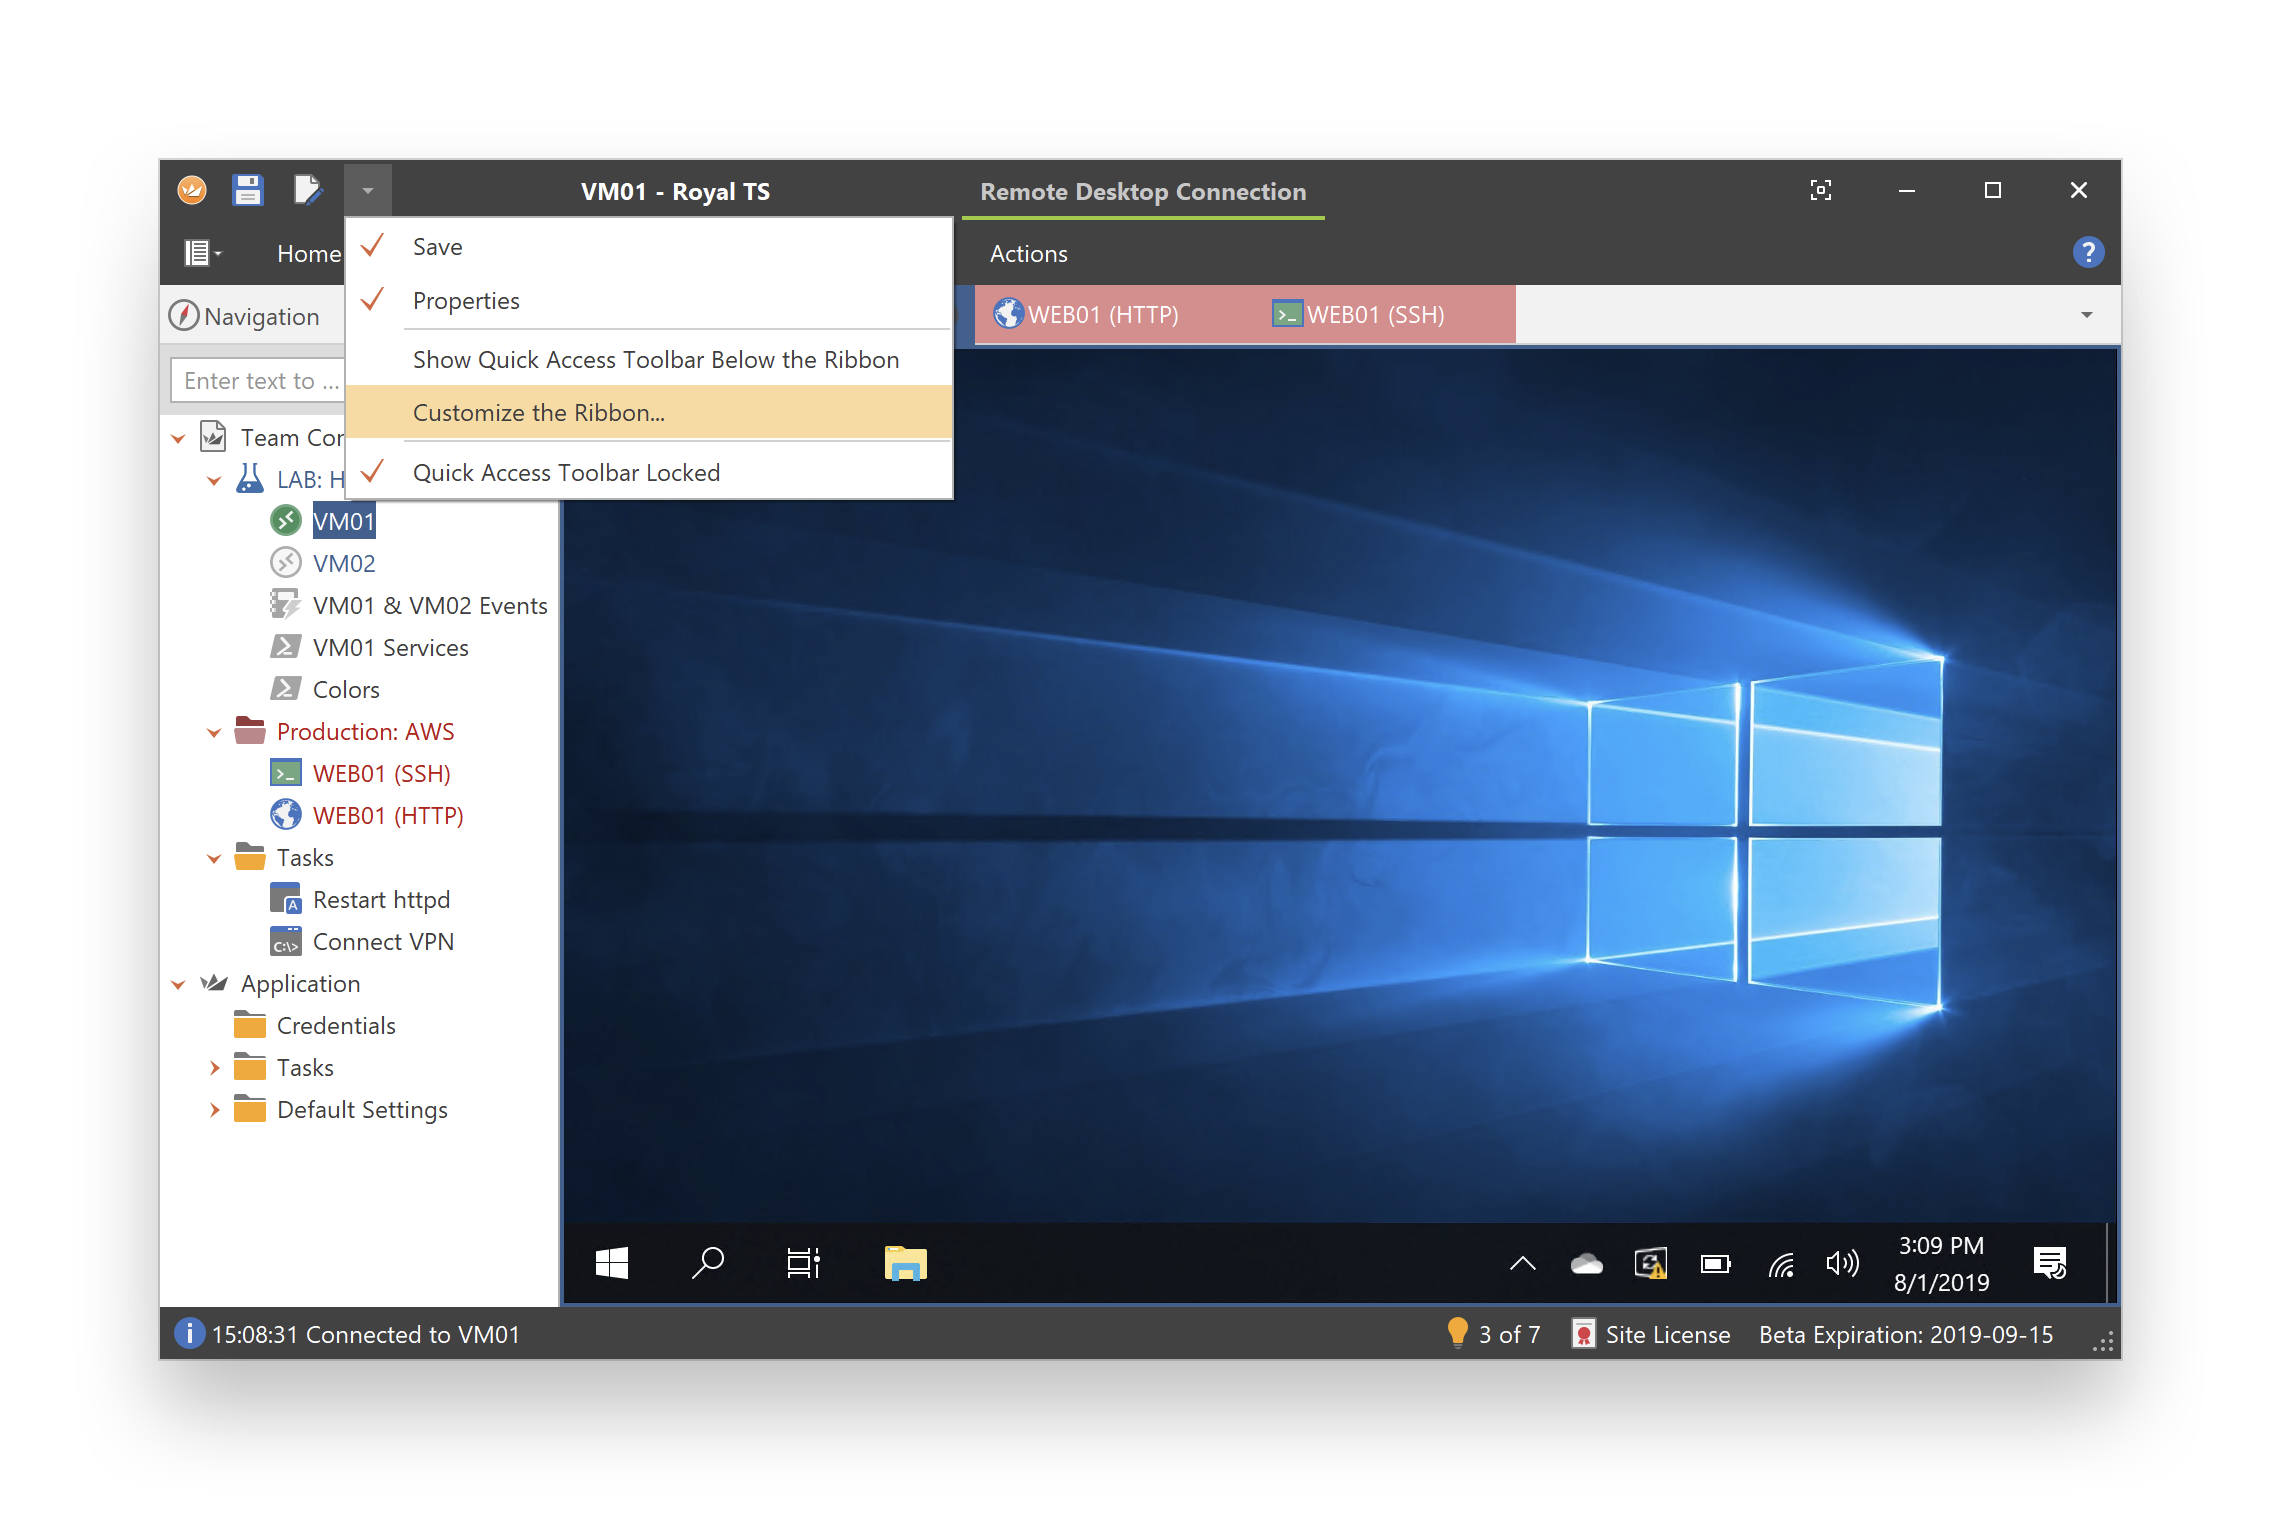
Windows users have a similar tool for personalizing their frequently used functions. In Royal TS (for Windows) the Quick Access Toolbar (QAT) can be modified according to your preferences by right-clicking on the displayed commands. After adding/removing the commands, you can reorder them via drag-and-drop once you have unlocked the QAT (see screenshot below). Not only that, the Ribbon can also be further customized, which means, you can create and organize your own ribbon tabs and add/remove/reorder commands individually.
By the way: If you don’t need the Toolbar/Ribbon, you can hide it at any time.
These tips merely represent a summary of the most popular ways to easily personalize your UI. We hope they appeal to you and are a welcome addition to your Royal Apps experience. Have you got even more ideas or suggestions regarding UI personalization options? Please feel free to leave us a comment in the Royal Apps Forums.