In our previous blog post we have set up and configured Royal Server. Next, we need to prepare a connection in Royal TS/X to access Royal Server.
As an example, we will configure a Windows Processes connection in Royal TS and Royal TSX.
1. Configuring a Royal Server
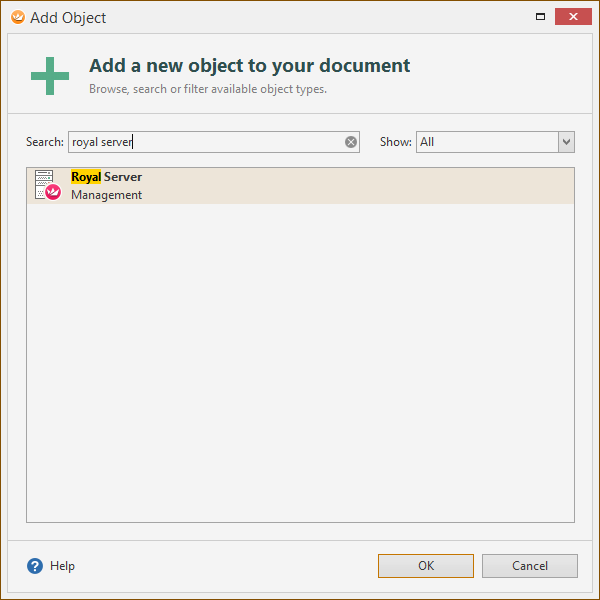
With Royal Server, a new object type is introduced in Royal TS/X: the Royal Server object. You can add it by using “Add” -> “More…” from the Ribbon or from the context menu.
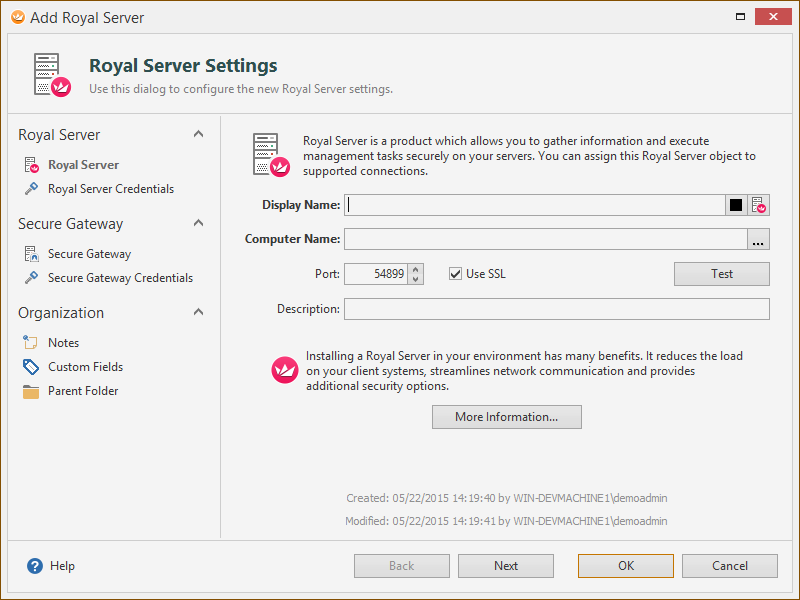
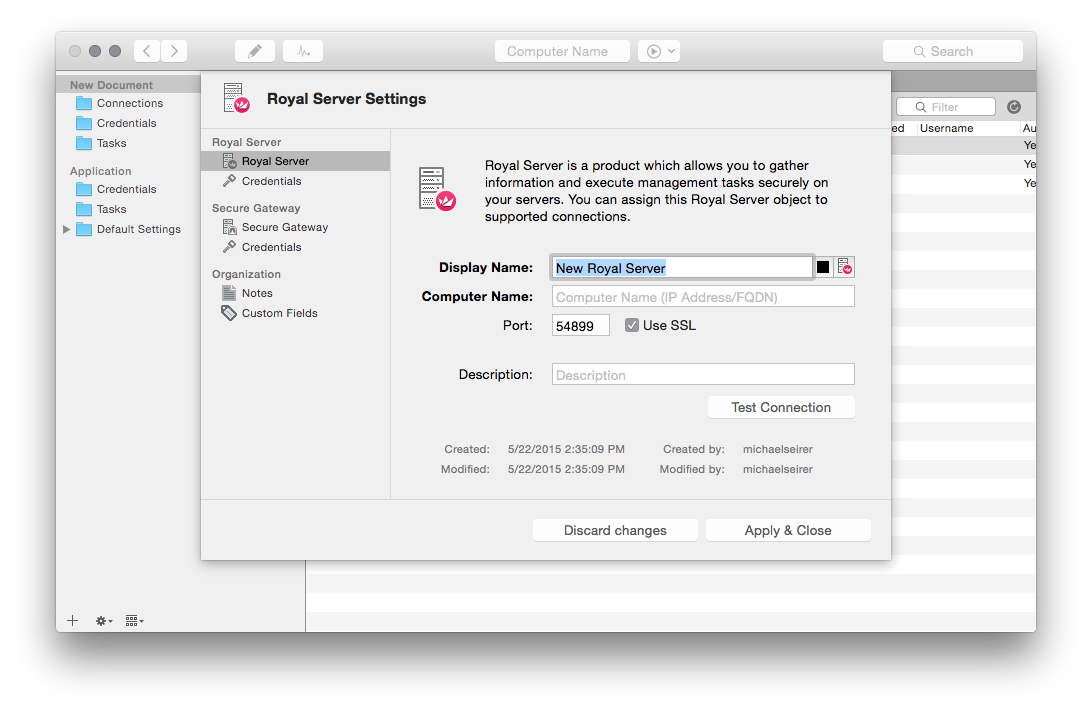
It encapsulates all necessary configuration to talk to Royal Server and execute module commands. You specify a display name and a computer name (FQDN or IP address), together with a port. If you have configured Royal Server to use SSL, check the Use SSL checkbox. The Test button allows you to test the connection to the server.
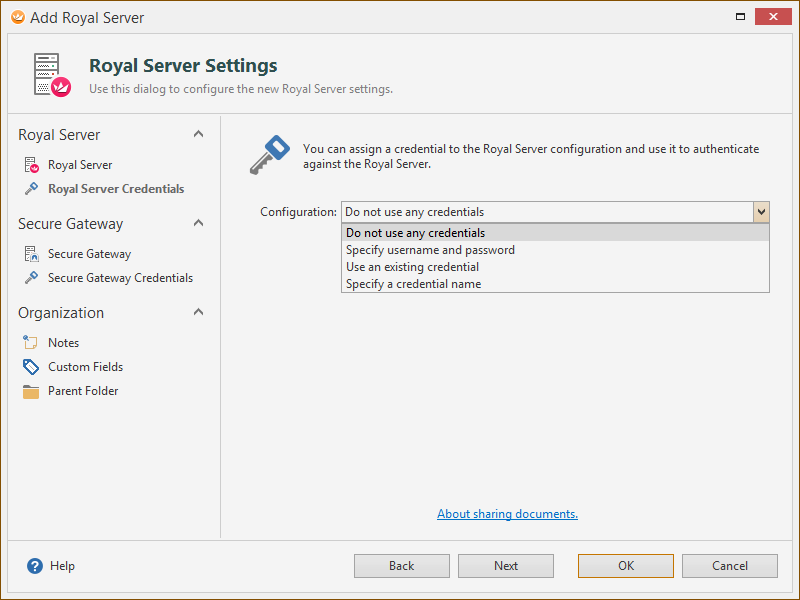
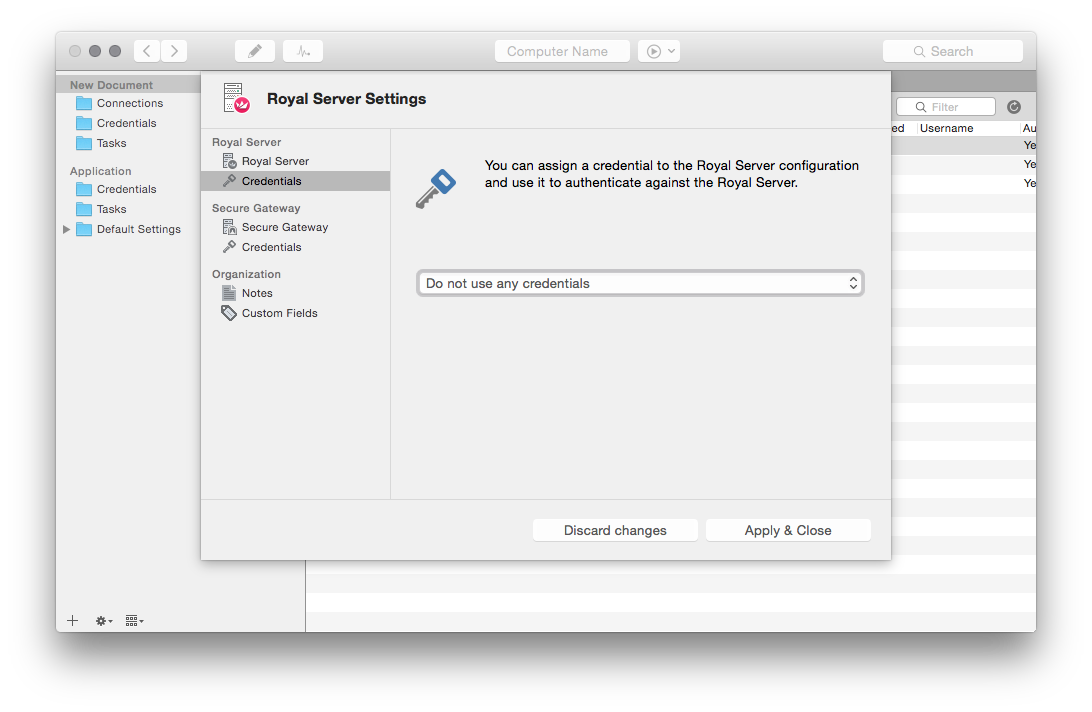
If you have configured Royal Server to require authentication, enter a credential. This is the standard Royal TS drop down for specifying a credential.
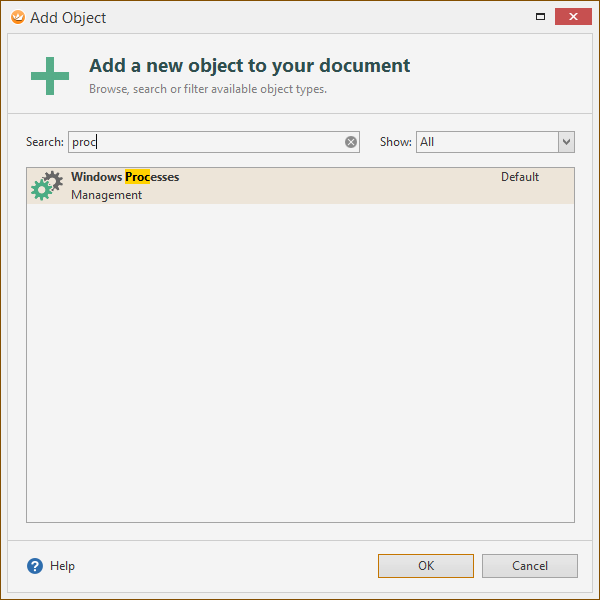
2. Configuring a new connection
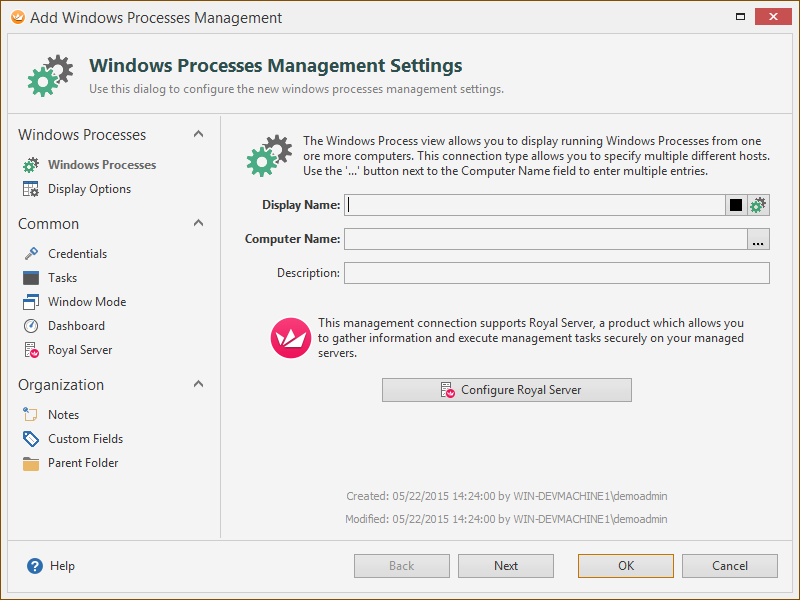
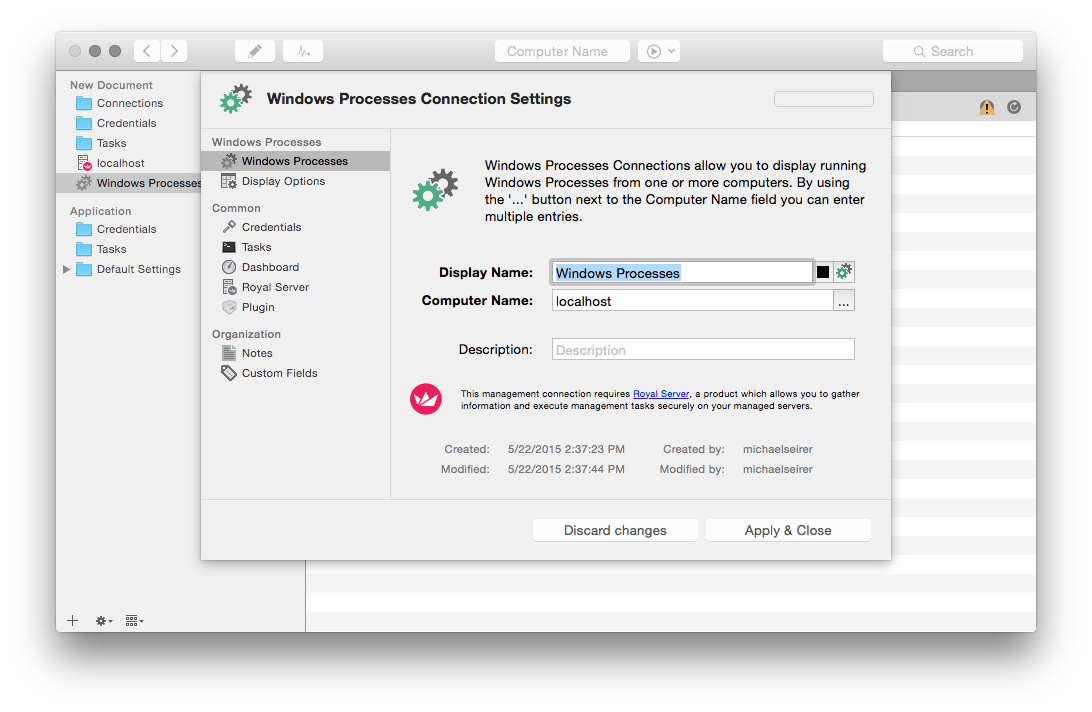
You are now ready to configure a new connection – for this example we take a Windows Processes view:
As usually, specify a Display Name and a Computer Name.
Remark: There will be a specialized post for the Windows Processes Management Settings you can specify.
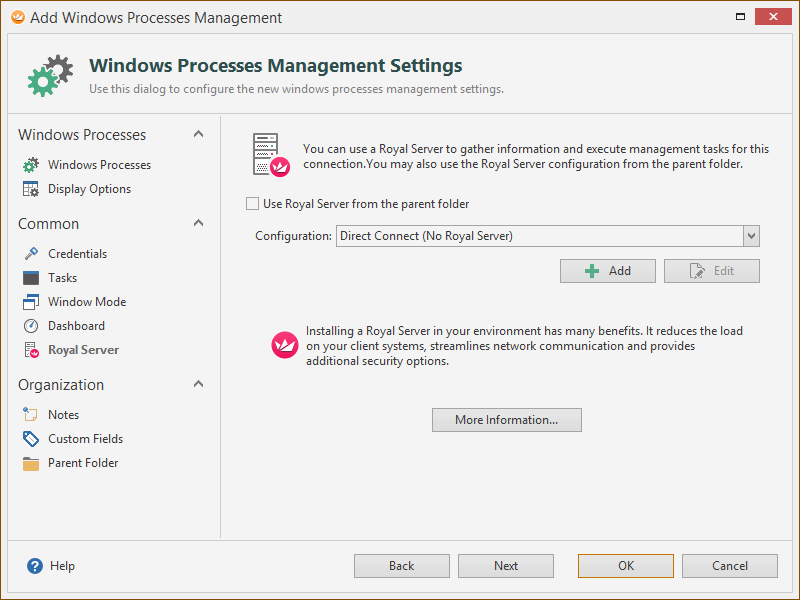
Now, you need to point the new Windows Processes connection to the previously created Royal Server. In the Configuration drop down, select the previously created Royal Server. By default, Direct Connect (No Royal Server) is selected.
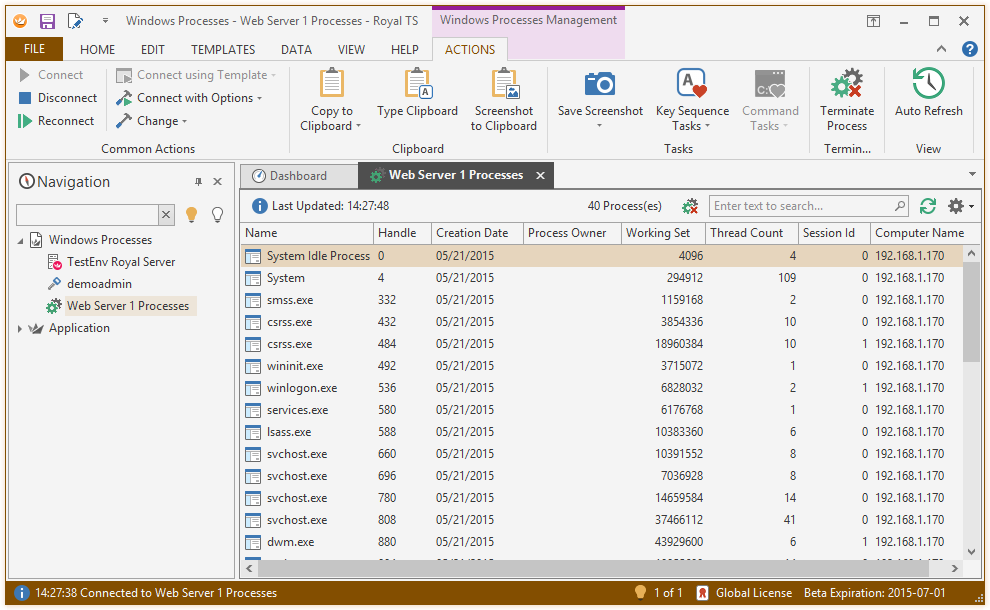
Click OK and connect to your created Windows Processes connection:
And now: cross platform using Royal TSX!
Of course, it was very important to us that this also works the exact same way on OS X!
First, you define the Royal Server.
If Require Authentication is configured, make sure you specify an account that is in the “Royal Server Users” Windows Group.
Finally, define your Windows Processes connection – and you are good to go:
Direct Connect
And … wait a minute … there is one more thing
As you might have noticed in the Royal Server configuration of Royal TS (for Windows), you can specify “Direct Connect (No Royal Server)” as well. Direct Connect (as the name implies) requires you to open many firewall ports (all high ports) in order to communicate with your servers. While it’s possible to use all management connections in Royal TS (on Windows) without Royal Server, it’s still highly recommended to use Royal Server and install it in the same environment where the machines you want to manage are located. Think of Royal Server as a special kind of “proxy” server which streamlines and channels traffic between Royal TS/X and your managed servers. Your network security guys will be delighted!